Creating Carrier Contracts
Users can create contracts for carriers and set policies and preferences from a single screen. Some fields are context-sensitive in that they may be unavailable due to selections made in other fields on the screen.
Complete the following steps to create a carrier contract:
Log in to the ONE system.
Click Menus/Favs > Contract Mgmt > Carrier Contracts.
The Explorer pane appears, displaying the Carrier Contracts hierarchy in a collapsed state.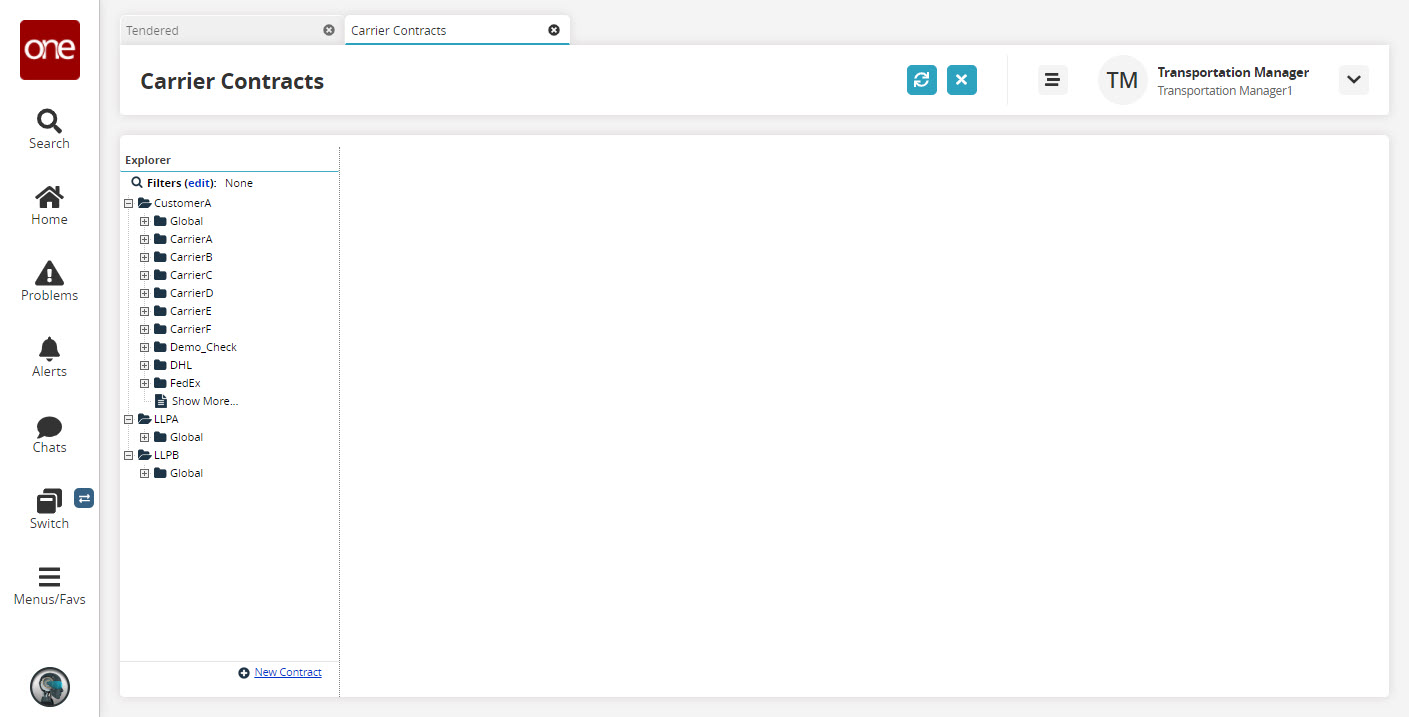
Click the New Contract link at the bottom of the screen.
The Create Carrier Contract pane appears.
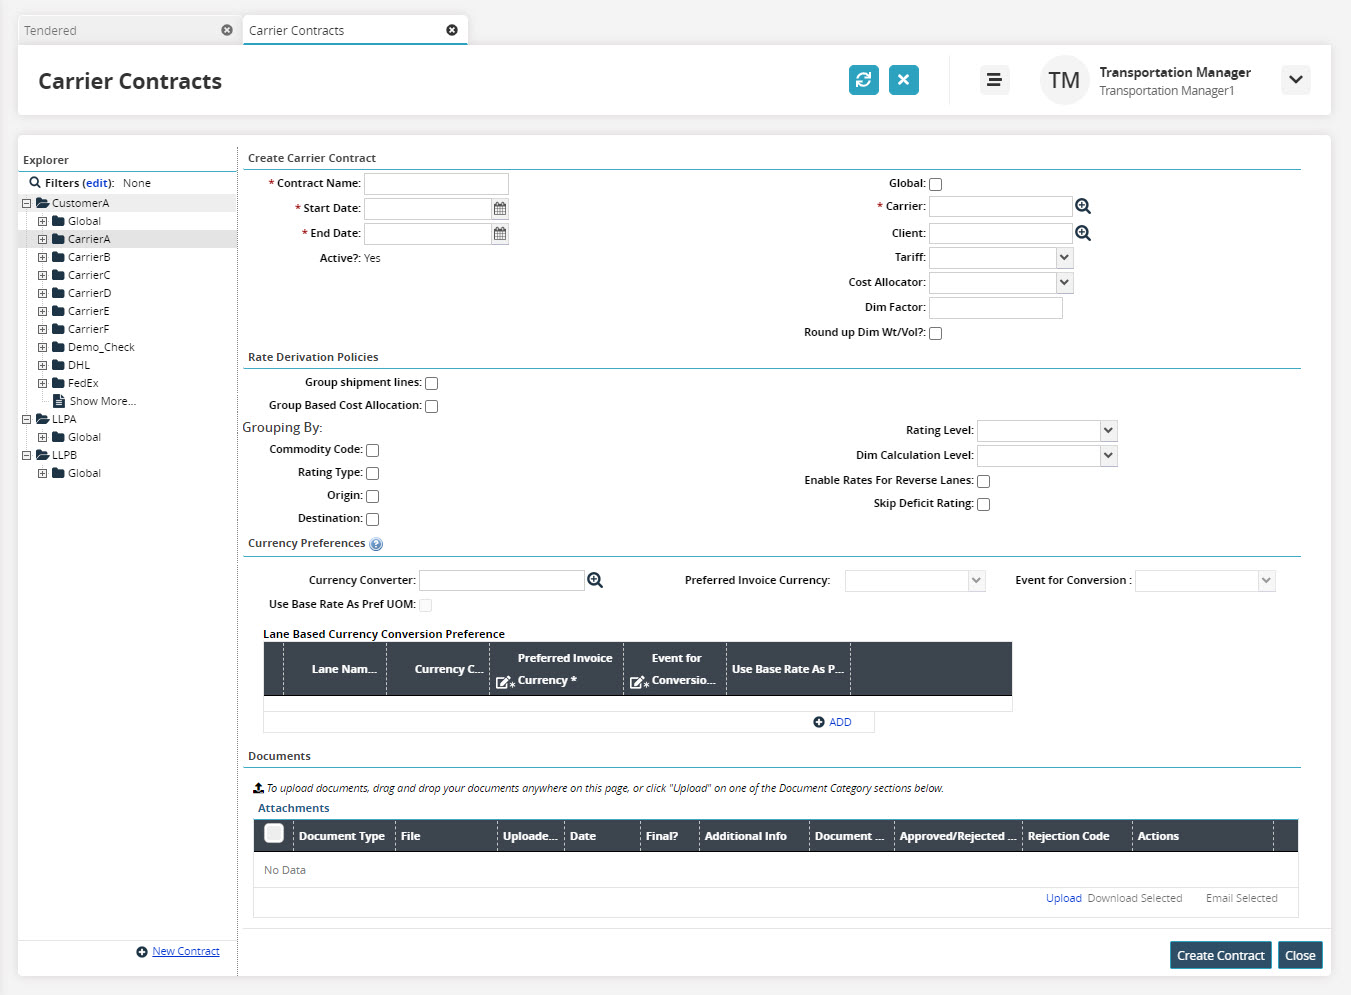
Complete the following fields. Fields with an asterisk ( * ) are required.
Section
Field
Description
Create Carrier Contract
* Contract Name
Type in a name for the carrier contract.
Global
Check the box if this contract will be global. If selected, the Carrier field will no longer display.
* Start Date
Use the calendar tool to select the start date for this contract.
* Carrier
Use the picker tool to select the carrier.
* End Date
Use the calendar tool to select the end date for this contract.
Client
Select the client name by using the picker tool.
The carrier contract will be applicable to the specific client.
Tariff
Select the tariff for the contract.
Cost Allocator
Select the cost allocator from the dropdown menu.
Dim Factor
Type in the dimensional factor for the contract.
Round Up Dim Wt/Vol?
Check the box to round the dimensional weight and/or volume up.
Rate Derivation Policies
Group Shipment Lines
Check the box to group the shipment lines.
Group Based on Cost Allocation
Check the box to group based on cost allocation.
Grouping By
Check the box(es) to select grouping by commodity code, rating type, origin, and/or destination.
Rating Level
Select the rating level from the dropdown menu.
Dim Calculation Level
Select the dimension calculation level from the dropdown menu.
Enable Rate for Reverse Lanes
Check the box to enable rates for reverse lanes.
Skip Deficit Rating
Check the box to skip deficit ratings for the contract.
Currency Preferences
Currency Converter
Use the picker tool to select a converter for the currency.
Preferred Invoice Currency
Select the preferred currency for invoices from the dropdown menu.
Event for Conversion
Select an event to trigger a currency conversion from the dropdown menu.
Use Base Rate as Preferred UOM
Check the box if the base rate will be the preferred unit of measure.
* Lane Name
Click on the cell in the row and then use the picker to select a lane.
Click on the Add link to add a row to the Lane Base Currency Conversion Preference table. A new row displays in the table.* Currency Converter
Click on the cell in the row and then use the picker tool to select a converter for currency.
* Preferred Invoice Currency
Click on the cell in the row and then select a currency for invoices.
* Event for Conversion
Click on the cell in the row and then select an event to trigger the currency conversion.
Use Base Rate as Preferred UOM
Check the box if the base rate will be the preferred unit of measure.
Documents
Drag and drop a document onto the screen to add a document as an attachment for the contract or use the following instructions to upload a document.
Click the Upload link.
The Upload popup window displays.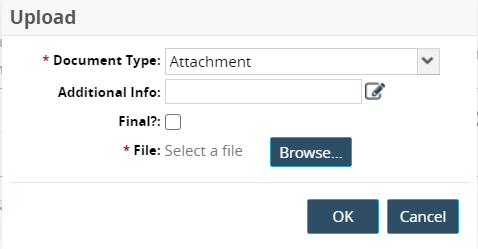
The following table describes the fields. Fields with an asterisk ( * ) are required.
Field
Description
* Document Type
Leave Attachment as the selection for this field.
Additional Info
Type in notes in the Additional Info field.
Final?
Select this checkbox if this document is the final version.
* File
Click on the Browse button.
The file selection window displays.Select the necessary file.
Click the Open button.
Click the OK button.
The document is added in the Attachments table.
Click on the checkbox to select a document.
The Download Selected and Email Selected links are now available.Click on Download Selected.
The document is automatically downloaded to the user's computer.Click on Email Selected.
The Email Documents popup window displays.Type in an * Email Address.
Type in a Message.
Click the Send Email button.
The email is sent.
Click on the Create Contract button.
A green success bar displays.